1.
Download and install Android SDK.
After that, set up a new emulator. (You may want to learn
how to set up an Android Emulator
2. Go to
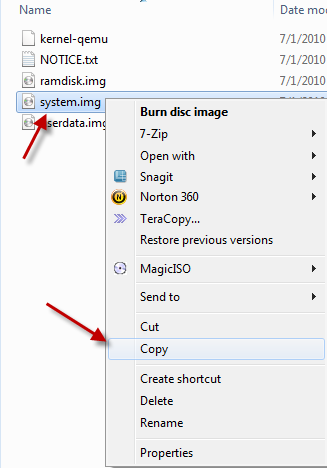
…….\android-sdk_r08-windows\android-sdk-windows\platforms\android-9\images (this is the default folder for
SDK Platform Android 2.3, API 9, revision 1), copy
system.img and
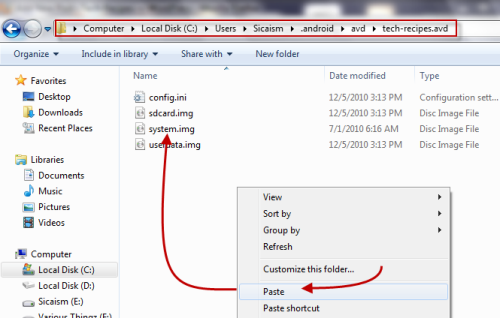
paste it to
C:\Users\Username\.android\avd\Emulator’s name.avd
3. Download three files:
Vending.apk,
GoogleServicesFramework.apk and
ADB.zip (unzip the file after downloaded). After that, put all these files into
…….\android-sdk_r08-windows\android-sdk-windows\tools, we will need them later. (In Android 2.3 SDK, adb files have been removed so that’s why we need them. If you use Android 2.2 SDK, you may not need to download the file)
3. Press
Winkey+R, type
cmd and press
Enter. In command prompt, change the directory to
…….\android-sdk_r08-windows\android-sdk-windows\tools (I kept the default folder structure but it is recommended that you change it).

4. Type the following:
emulator –avd tech-recipes –partition-size 100 and hit
Enter (please replace
tech-recipes with your emulator’s name). This command will launch your emulator. Please don’t try to launch it from SDK manager, otherwise, it won’t work.

5. Launch another command prompt window, switch to
…….\android-sdk_r08-windows\android-sdk-windows\tools , type in:
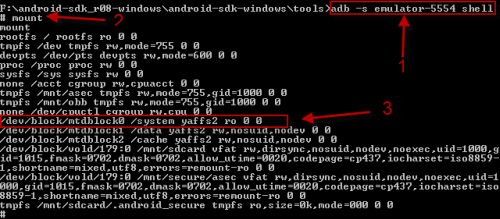
adb -s emulator-5554 shell and hit
Enter
(Please make sure that the emulator is fully loaded, and replace
5554 with your emulator’s serial code which you can find at the top of emulator’s window.) After that, type
mount and hit
Enter again. You will see something like below, and look for the line:
/dev/block/mtdblock0 /system yaffs2 ro 00.
6. Now, type in:
mount -o remount,rw -t yaffs2 /dev/block/mtdblock0 /system and hit
Enter. This will remount the
/system in read-write mode. Because we will copy some files to
/system/app later, we must set read-write permission to that directory. To do it, type the following:
chmod 777 /system/app , hit
Enter. After that, you need to exit. Type
exit, hit
Enter again. The whole step will look like this:

7. In this step, we will copy two files:
Vending.apk and
GoogleServicesFramework.apk into
/system/app. To do this, from the second command prompt window, type:
adb -s emulator-5554 push Vending.apk /system/app/. and hit
Enter. Similar to that, to copy the next file, type:
adb -s emulator-5554 push GoogleServicesFramework.apk /system/app/. , hit
Enter again. If sucess, it will look like this:

8. Now, you need to remove
SdkSetup.apk from
/system/app (if it is not removed, the SDK will be restore in next session). In the second command prompt window, type:
adb shell rm /system/app/SdkSetup.apk , hit
Enter.

9. Close your emulator.
10. Go to
C:\Users\Username\.android\avd\Emulator’s name.avd and delete these two files
: userdata-qemu.img and
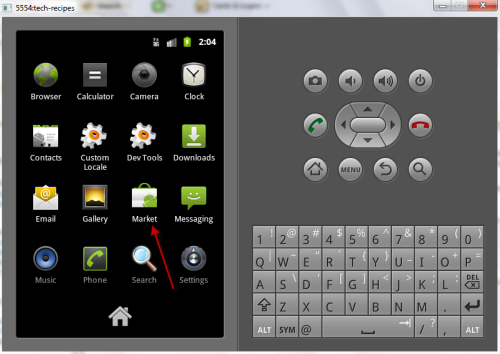
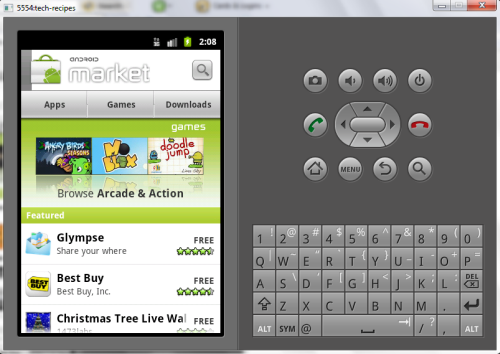
cache.img. Launch your emulator in the normal way and then, you will see Android Market from the list.

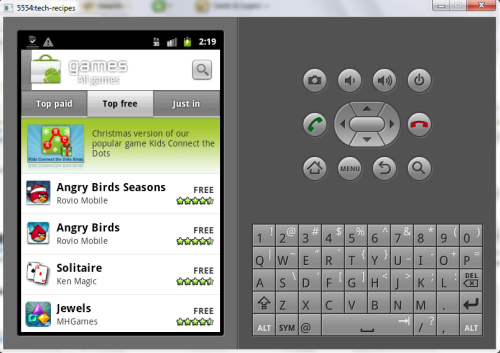
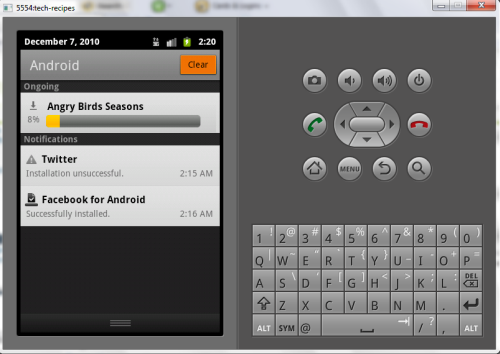
Using Facebook:
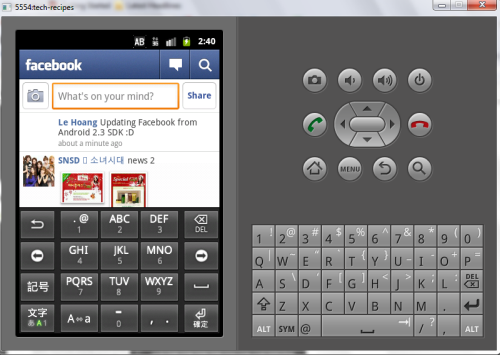
Note: Some applications and games may not work because they need real hardware. Angry Birds and Youtube are such examples. With these you can hear the sounds but not see any video.
source http://www.tech-recipes.com/rx/10004/accessing-android-market-from-android-sdk/


